I hope you’re enjoying a fabulous weekend! I hinted last week at our Simple things Sunday party that I would be welcoming a few special guests to come and share some photography inspiration with us on the blog each week. I’ve invited some of my favourite photographers whom I love and admire and I’m so excited to introduce them to you!
They will be joining us each Sunday for our weekly link up so watch for their photos being shared in the party or via instagram. They’ll be visiting some of your blogs and admiring your beautiful photos throughout the week. The following Saturday morning they will be sharing a little bit about themselves, some fabulous photo tips and highlighting a few of YOUR photos that caught their eye in the weekly linkup!
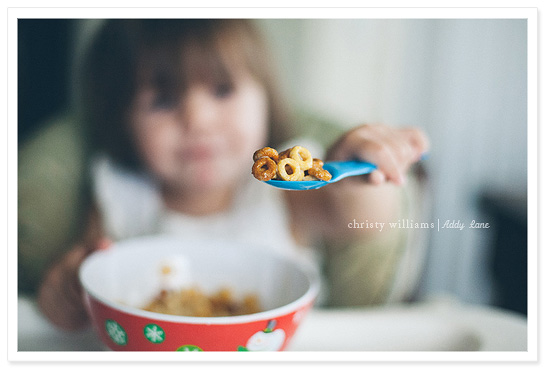
This is going to be such fun and I can’t wait for you to meet our very first guest – Christy of Addy Lane. I’ve been using Christy’s beautiful actions on my photos for years now and I just love them to bits. The soft vintage feel and the timeless look they give to my photos is simply divine and I can’t wait for you to see the latest set of actions that Christy’s been working on!
I’m going to turn this over to Christy so she can tell you a little bit about herself. She’s got some wonderful editing advice to share and you can find her photo picks from the STS party along with links to her blog, FB page and instagram feed at the bottom of this post!

Hello! My name is Christy and I currently reside in Florida with my supper supportive husband and 4 children. My loves other than my children & photography are early morning light, Hawaiian fusion food and watching Homeland on Sunday nights (completely hooked on that show!).

I have been taking pictures for as long as I can remember. My passion developed as a little girl growing up in Hawaii, looking through my Grandmothers boxes of pictures. I still have and dearly treasure her cameras, and her pictures. But my first true SLR camera was Canon 35mm film camera, and about 5 years ago I went digital.


Latest posts by Rebecca (see all)
- Printable 2023 Calendar - Monday, December 5, 2022
- SMART Goal Setting Bookmarks - Sunday, June 12, 2022
- Free Printable 2022 Calendar - Thursday, September 9, 2021

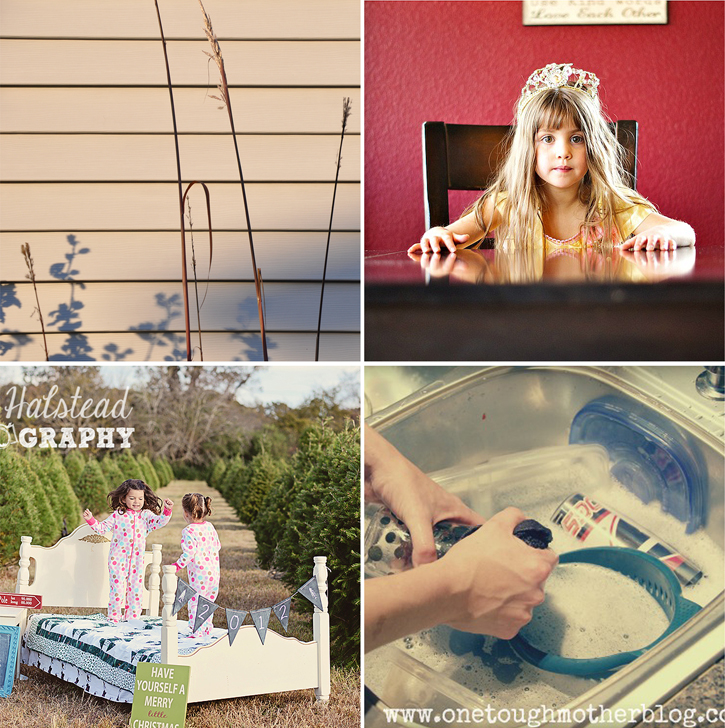
Iove that bed shot too! A+++ for effort and A+++++ for happy jumpning kids. My christmas pic will be boring compared to it 😉
Wow, what gorgeous photos! Whenever I see beautiful photography, I’m inspired to document my family in that same, amazing way. Thanks for sharing!
I bought Addy Lane Basics awhile back after seeing Rebecca’s photos and I love the simplicity. They were editing tools I already used, but it helped speed up the process for a large editing session. I adore the cereal spoon shot, such everyday simplicity. I have found in some ways I regret starting a business because of losing time for my own images and it is hard to find balance. Looking forward to those new actions!
What great tips! The more I learn about photography the more there is to master. I think I’ll work on shooting from the heart first. Thanks!
Oh my thank you for the feature /mention…LOL
I was reading this and all of a sudden was dumbfounded…as in..hey that’s me 🙂 I am honored
What inspiring photos and great tips. I will definitely be checking Addy’s blog 🙂 thanks for sharing. I still need to work on my photos and join the link party 😉
Oh goodness!!! You sure know how to make a girl’s day!!!!! My jaw dropped to the floor when I saw that you mentioned my photo! Thanks so much for the honour. I love your blog! I get so many ideas here! Have a happy day!!!
What beautiful pictures!! I, too, love Homeland! And, what great tips, I especially love the shoot from the heart, the best pictures are from the heart!
Thank you SO much for the feature of my “Dirty Dishes” shot 🙂 I’m truly honored. Can’t wait to visit the other featured posts! Happy Sunday!
Oh my goodness!! Thanks soooo much for featuring me.
Stunning photos!!!!!!
I love the shots that capture real emotions. So beautiful!
awesome tips. i am loving the featured photographs..that princess one is to die for!
Some great tips and your photos are amazing!!
A number of them include the specialized baseball gamers who seem to dream of enjoying ice skating having using traditional baseball jerseys in MLB games eventually Who does not like to show your team spirit? The use of NFL jerseys is very popular
ï»?If the fruits covers specified for[url=http://www.officialnikebroncosjerseyshop.com/broncos+von+miller+authentic+jersey-c-9_21.html]Von Miller Orange Jersey[/url]
the grapefruit ought to be minimize in two components[url=http://www.officialnikebroncosjerseyshop.com/broncos+von+miller+authentic+jersey-c-9_21.html]Pink Von Miller Jersey[/url]
half method involving the rose plus the originate comes to an end[url=http://www.officialnikebroncosjerseyshop.com/broncos+von+miller+authentic+jersey-c-9_21.html]Von Miller Womens Jersey[/url]
a fruit taken out[url=http://www.officialnikebroncosjerseyshop.com/broncos+peyton+manning+authentic+jersey-c-9_17.html]Peyton Manning Womens Jersey[/url]
along with the ends of the seed covering in that case notched Well[url=http://www.officialnikebroncosjerseyshop.com/broncos+peyton+manning+authentic+jersey-c-9_17.html]Peyton Manning Elite Jersey[/url]
this could be a nice way for you to get jerseys for free