After a search around the island failed to turn up any plastic Easter eggs for our annual Easter egg hunt I knew it was time to come up with a plan B. When I stumbled across these cute paper candy pouches online one day I knew I’d found the perfect solution! Only problem? I don’t have access to a sewing machine & hand sewing enough pouches for four kiddos, well that just wasn’t going to happen.
So here’s what I did:
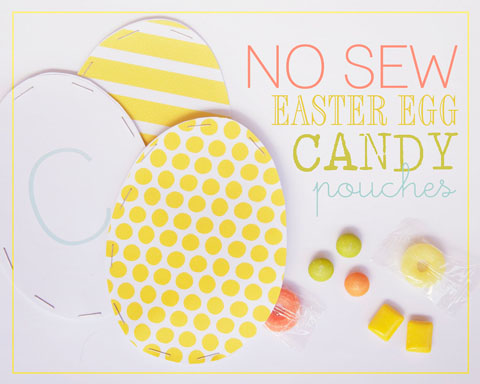
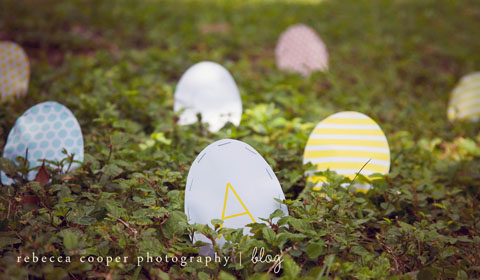
1. Using Crystal Wilkerson’s Happy Spring kit I created some pattern paper & monogrammed egg shapes. I made four different sets, each in a different color and with a different monogram, so my kids will know what eggs are theirs during the Easter egg hunt.
2. I then cut out my pattern & monogrammed eggs with an equal number of plain white eggs.
3. Next I took a pattern paper or monogrammed egg for the front, paired it with a plain white egg for the back and began stapling along the edges to create our Easter egg pockets. I made sure to only staple 3/4 of the way around the egg.
4. Then I filled the egg pocket with fun Easter treats. I used some fun spring colored treats {skittles, chicklets for the big kids & hawaiin fruit lifesavers.} You can use anything really, but treats that are a little on the flatter side will fit best in the pouches.
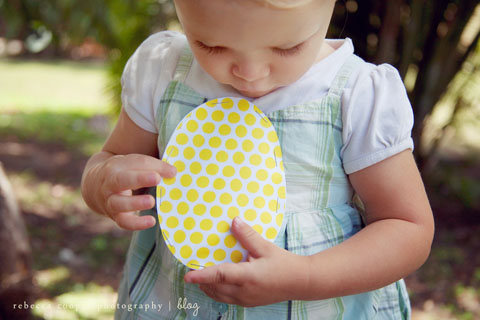
5. The last thing I did was finish stapling the edges of the eggs together and that’s it! Super easy! I have these cuties all ready and waiting for our Easter egg hunt Saturday morning!


I’m linking up with these fabulous blogs:
somewhat simple, house of hepworths, a bowl full of lemons,
Tidy Mom, Whipperberry

Latest posts by Rebecca (see all)
- Printable 2023 Calendar - Monday, December 5, 2022
- SMART Goal Setting Bookmarks - Sunday, June 12, 2022
- Free Printable 2022 Calendar - Thursday, September 9, 2021

hooray! What a great, colorful alternative! I knew you would find a way to “make lemonade.” 🙂
SO cute! Enjoy your time with your family!
Thanks for the wonderful craft ideas. I thought you might like to see my adaptation of your Spring Butterfly Mobile. The photos not great, but you’ll get the idea. http://brendas-bits-and-bytes.blogspot.com/2011/04/welcome-to-brendas-bits-and-bytes.html
That is the most adorable idea ever! And your pictures are darling! Have a nice break!
Hooray…
glad that you found a way.
enjoy family time….
You are stinkin’ creative! Adorable!
Adorable idea! I love that it is “no sew” and uses pretty paper! Gonna do this one for sure 🙂
The most adorable idea!
I love the concept! And I have some cute paper that needs to be used.
I think I actually like these MORE than plastic easter eggs! Super cute! Hope every one has fun at the hunt! Came over from Whipperberry’s link party.
What a great idea. It is so cute. I might have to “borrow” this same idea for my kiddos.
I love that you stapled these! It’s still cute and yet easier! I am having a Silhouette Blog Party and one of the shapes in it is a Egg Pouch. You may not have used the Silhouette but I would love it if you would (or if you would let me) link up this project as an example of how to use the shape. http://www.maggiemugginsdesigns.com/2012/05/silhouette-free-shape-blog-party.html